You’re approaching the deadline, you’re finally ready to export your Final Cut Pro X project and then you get this message…
“Error: RenderFrameAt Returned: 4 Absolute Frame: 1234”.
The first time this happened to me, I was HOURS away from missing my deadline. The first thing I did was search the internet, but when I couldn’t find a straightforward solution…
I FLIPPED OUT!!
Luckily, I managed to use that head of mine to come up with a solution. That’s why I decided to write this article; to make YOUR life easier if this ever happens.
So, let’s get right into things because I’m assuming you’re in a rush…
- Why am I getting “Error: RenderFrameAt Returned” when exporting?
- How to locate corrupted frames in your FCPX timeline
- How to remove corrupted frames from your FCPX timeline
- Is there another way to fix RenderFrameAt errors?
- Summary: How To Fix RenderFrameAt Error in Final Cut Pro X
Why am I getting “Error: RenderFrameAt Returned” when exporting?
The reason you can’t share/export your Final Cut Pro X (and/or iMovie) project is that one of your clips on your timeline has a few corrupted frames.
When you get the error, make sure to take note of the number at the end.
FCPX/iMovie is telling you the exact frame where the corruption starts.
Most of the time, it’s only a few frames so it shouldn’t last more than a fraction of a second. Yup, all of that trouble for just a few frames!
Why can’t FCPX/iMovie simply share/export the video as is?
I wouldn’t waste my time on that, so let’s move on to locating these frames…
How to locate corrupted frames in your FCPX timeline
1 – Take note of the last number when you get the error message

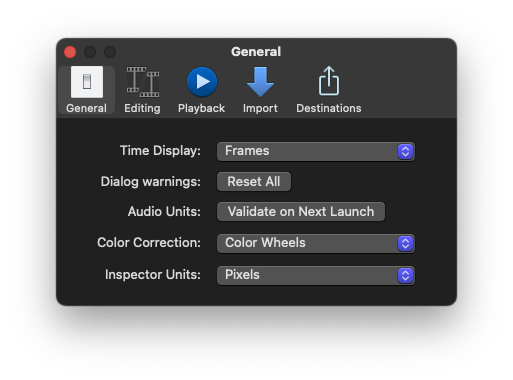
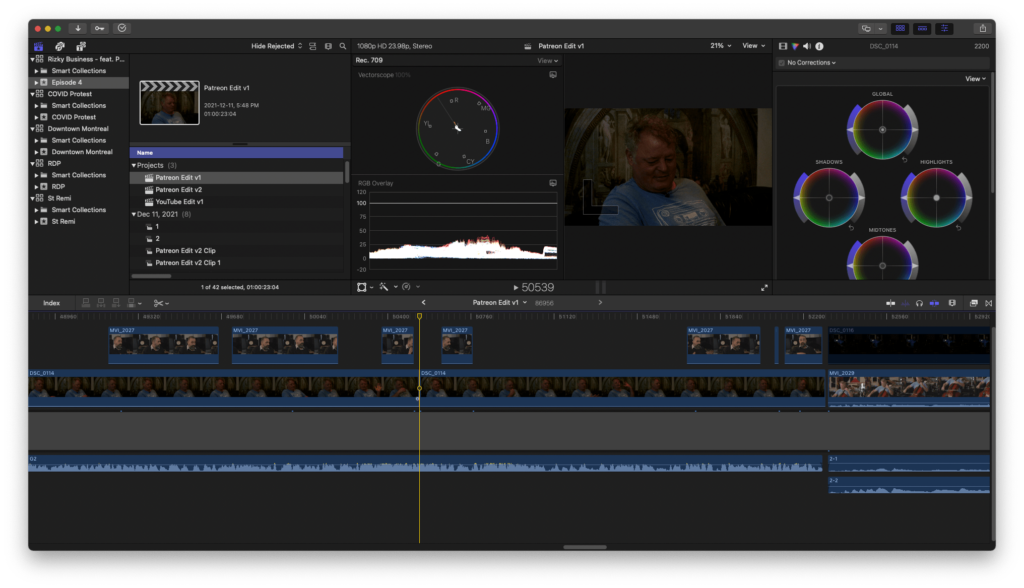
2 – Change your timeline from hh:mm:ss to frames
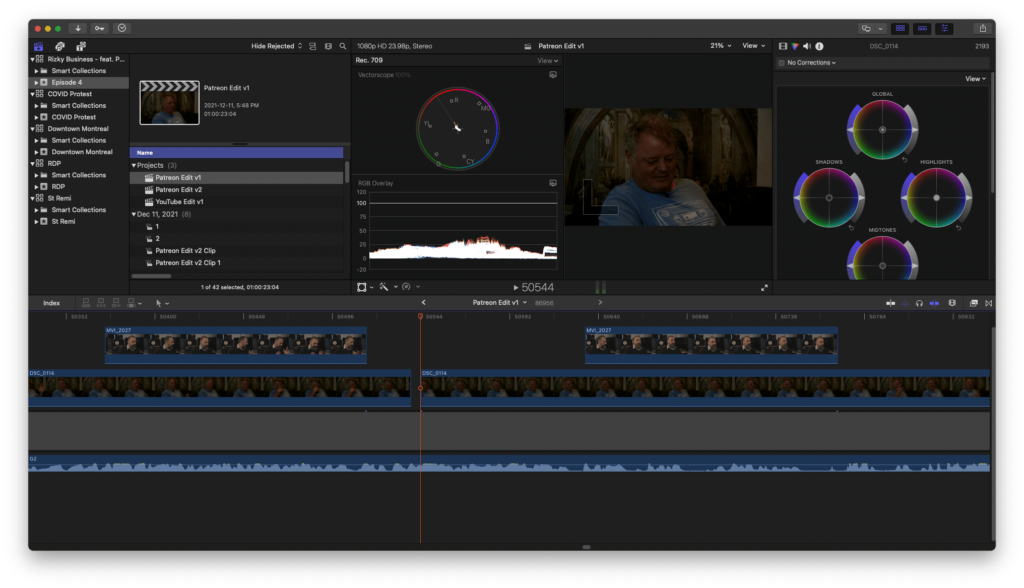
3 – Navigate to the corresponding frame
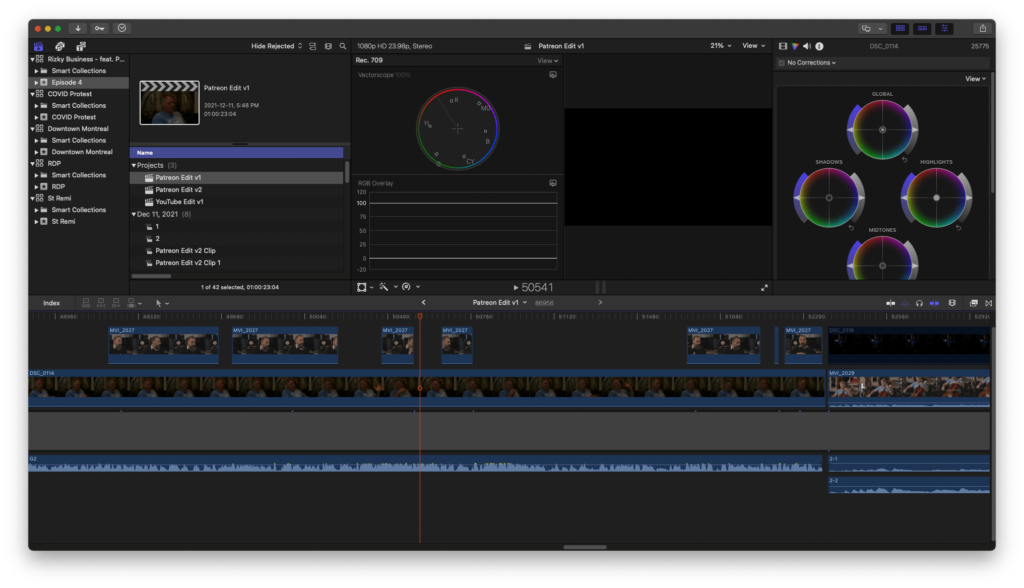
4 – Identify which clip has the corrupted frames (if multiple are in use)

5 – Identify where the corruption ends (take note of that number)
Now, we’re going to be moving on to the “quick fix”. We’ll be looking at other solutions you can try in another section because once again… I’m assuming you’re in a rush!
This is what I did to finally get my Final Cut Pro X project shared/exported…
How to remove corrupted frames from your FCPX timeline
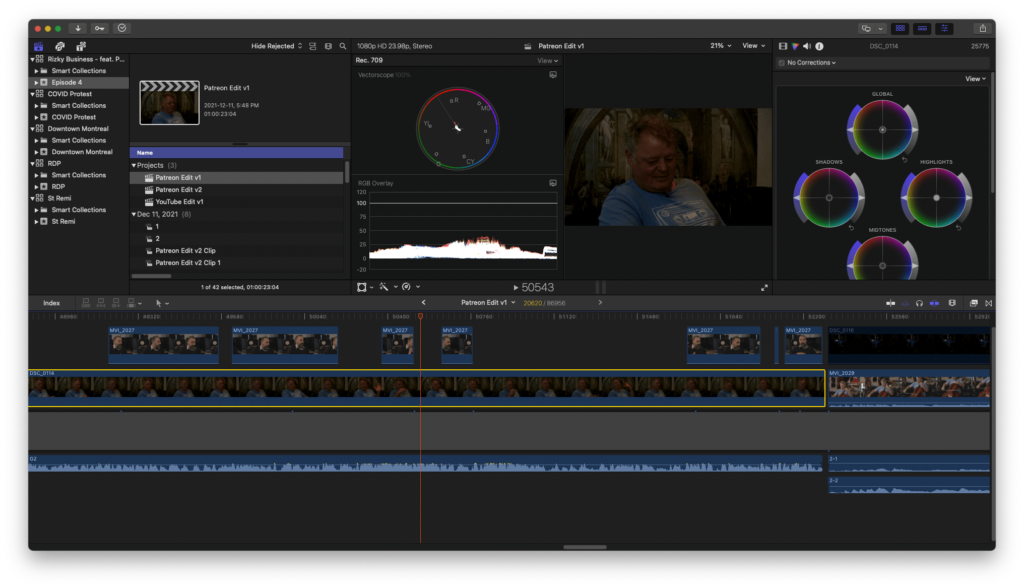
1 – Cut your clip 2-3 frames BEFORE the corrupted frames start
2 – Cut your clip 2-3 frames AFTER the corrupted frames end

3 – Select the corrupted section and delete it
4 – Try sharing/exporting your project (if another error with a different value appears, repeat the process)

If done correctly, this should finally allow you to get your Final Cut Pro X project rendered.
Of course, you’ll have a brief moment where the video cuts out. I’ll leave the rest up to you… Maybe you have another clip you can briefly insert to fill in the gap?
Alright, so now let’s see if we can work on a “better fix”. If you’ve got time, that is!
Is there another way to fix RenderFrameAt errors?
If the corruption doesn’t come from your source material (i.e the footage on your SD card), there might be a way of resetting your timeline.
That’s because the corruption could’ve happened during…
- Transfer
- Encoding
To verify if this IS the case, you need to go back to your source material and navigate to the same frame. Do you still get the same “glitch”?
If NOT, then there’s hope!
If you do, then the “quick fix” is the only fix for you (sorry).
To reset your clips, you’ll need to…
1 – Remove the corrupted clip(s) from your library AND timeline

2 – Delete render files, optimized media and proxy media

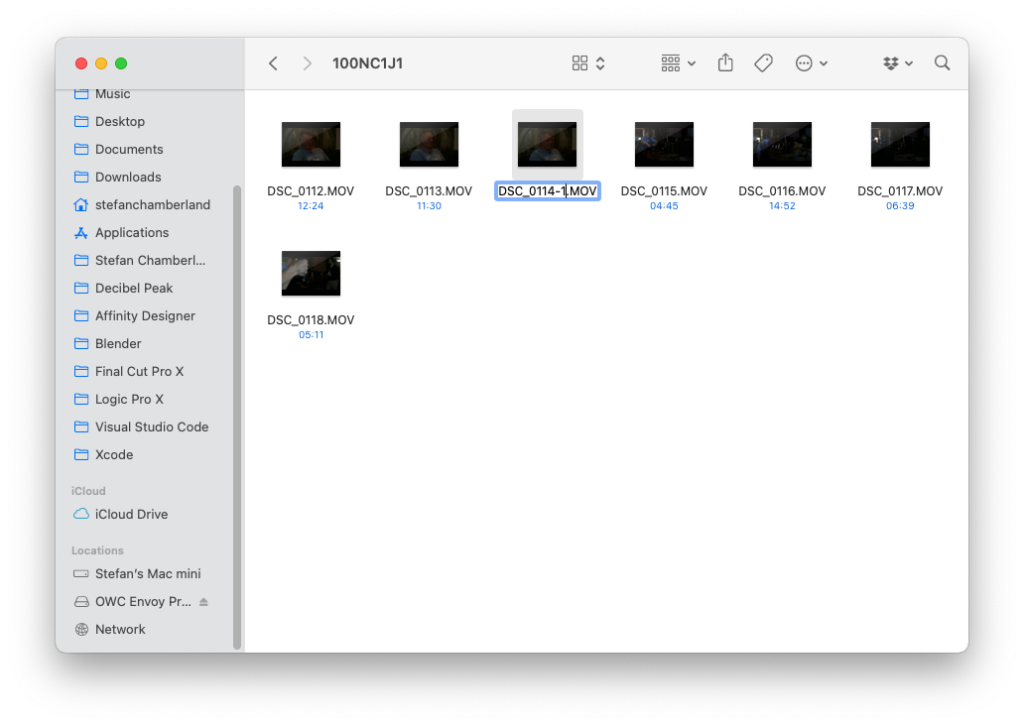
3 – Replace the original file(s) with the source file(s) (if the corruption occurred during the transfer) AND change the title(s)
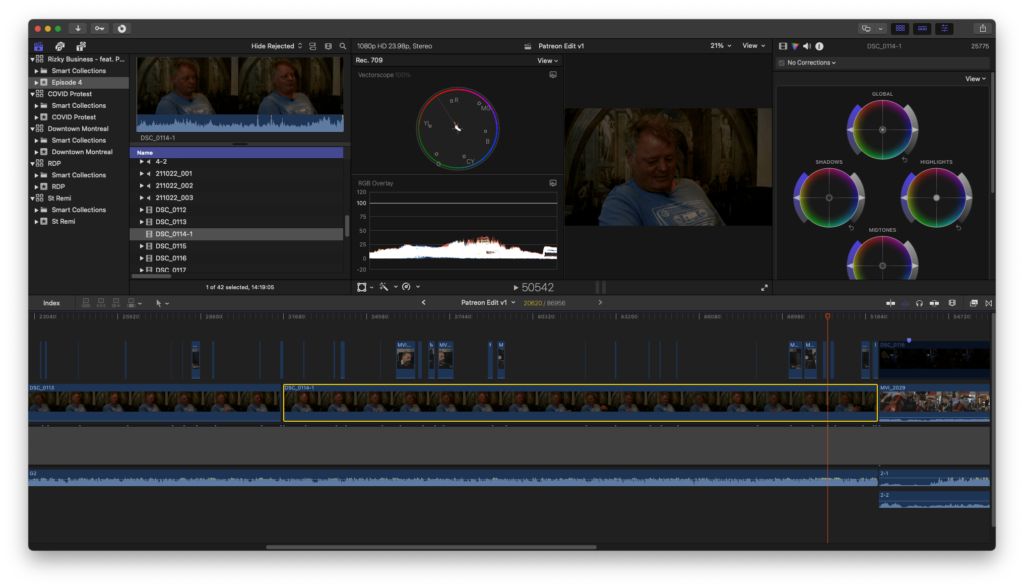
4 – Import the file(s) and replace any of the clips that were affected on your timeline
If that doesn’t work (because it didn’t for me), then you’re much better off sticking to the method laid out in the previous sections.
It’s just something you have to learn how to deal with…
Summary: How To Fix RenderFrameAt Error in Final Cut Pro X
So, there you go!
I hope that at least one of these methods helped. If it did, make sure to let us know which one in the comments (and if you’ve found any other solutions).
I’ll keep this post up to date if ever I come up with anything else.
If you think that this kind of error is exclusive to Final Cut Pro X/iMovie, then you’re mistaken. As it turns out, it happens with every major video editing software.
Corrupted frames are more common than you think and can be caused by a variety of factors.
However, that’s a topic for another article!
Thanks for reading, let me know if you have any questions!
Leave a Reply